01
Inspection
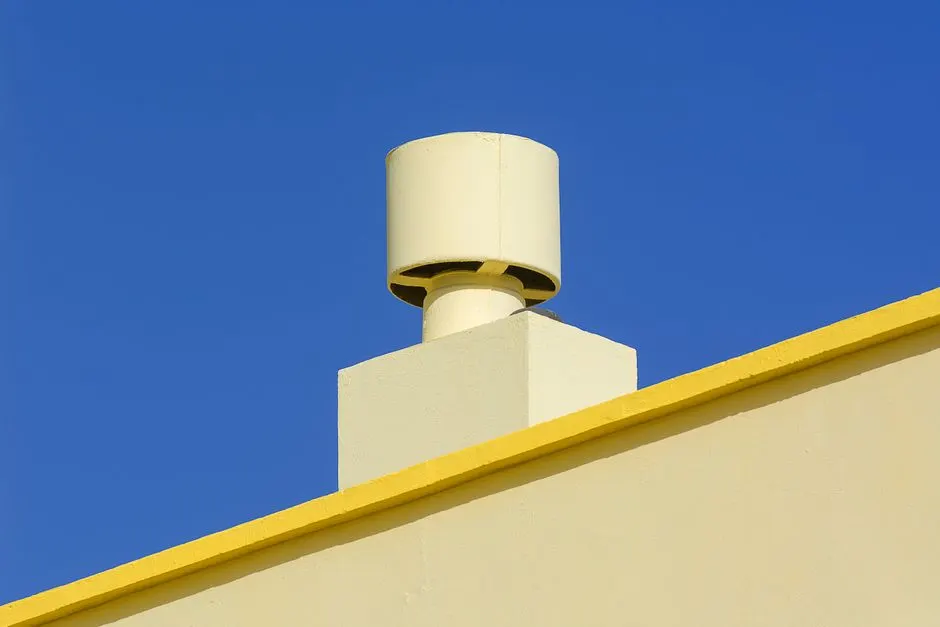
We start with a duct camera and a visual check of the run, the transition hose, and the exterior cap. You see the footage on our screen, so you know exactly what is in the line before we touch it. This takes about 10 minutes and tells us whether we are dealing with lint, pest nesting in ducts, or a crushed flexible duct.
02
Containment
We lay drop cloths, hook up the negative air machine with a HEPA vacuum, and seal the work area. Everything we loosen gets pulled into the vacuum instead of settling on your floor or your clean laundry. If the dryer sits in a tight closet, we set the containment so the door can stay mostly closed.
03
Mechanical Cleaning
A rotary brush and flexible duct rod run the full length of the line, followed by an air whip or compressed air nozzle to scour the walls. We work from both ends when access allows. Stubborn buildup near the exterior hood gets hand-cleared, and we confirm the damper flap moves freely with no lint matting.
04
Verification
We re-run the duct camera and take an airflow reading at the exterior termination. If the numbers do not look right, we keep working. You get a before-and-after look at the same section of duct, which is the clearest proof that the line is genuinely clear rather than just superficially brushed.
05
Reconnect and Test
We reconnect the transition hose with a proper clamp, push the dryer back, and run a test cycle while we watch the exterior damper. If the hose is crushed or the wrong type, we tell you and can swap it on the spot. Then we walk you through what we found and when to book the next cleaning.